
Christmas Mugs DIY 2024: Creative and Festive Mug Designs for the Holidays
Related Articles: Christmas Mugs DIY 2024: Creative and Festive Mug Designs for the Holidays
- Christmas List Kids Printable 2024: Help Your Child Craft The Perfect Wish List
- Christmas List Clipart 2024: The Ultimate Guide To Festive Graphics
- Christmas Message Of Health For 2024
- Christmas Movies 2024 On Hulu: A Festive Lineup To Brighten Your Holidays
- Hallmark’s Enchanting Christmas Movie Lineup For 2024: A Festive Feast For The Holidays
Introduction
With enthusiasm, let’s navigate through the intriguing topic related to Christmas Mugs DIY 2024: Creative and Festive Mug Designs for the Holidays. Let’s weave interesting information and offer fresh perspectives to the readers.
Table of Content
Video about Christmas Mugs DIY 2024: Creative and Festive Mug Designs for the Holidays
Christmas Mugs DIY 2024: Creative and Festive Mug Designs for the Holidays
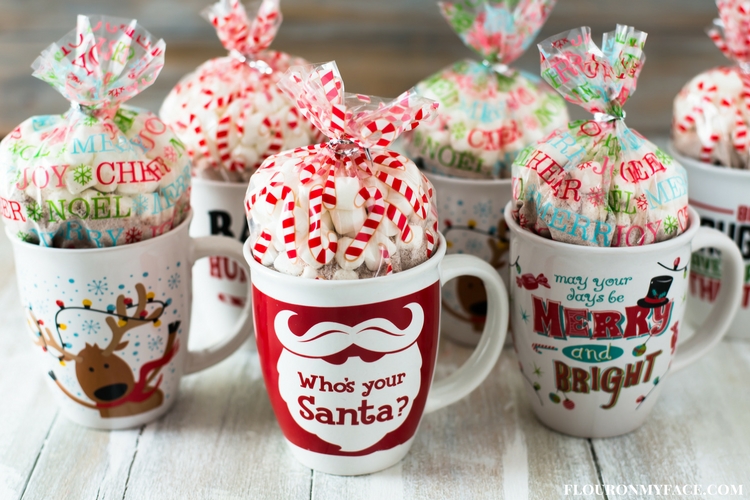
As the festive season of Christmas approaches, it’s time to embrace the spirit of creativity and make your own unique Christmas mugs. DIY (Do-It-Yourself) Christmas mugs are a perfect way to add a personal touch to your holiday décor, create thoughtful gifts for loved ones, or simply indulge in some festive crafting. This comprehensive guide will provide you with a wide range of Christmas mug DIY ideas, complete with step-by-step instructions and inspiring design inspiration.
Materials You’ll Need:
- Plain white mugs
- Ceramic markers or paint
- Paintbrushes
- Stencils (optional)
- Rubbing alcohol
- Cotton balls or swabs
- Oven (for curing ceramic markers)
- Microwave (for curing paint)
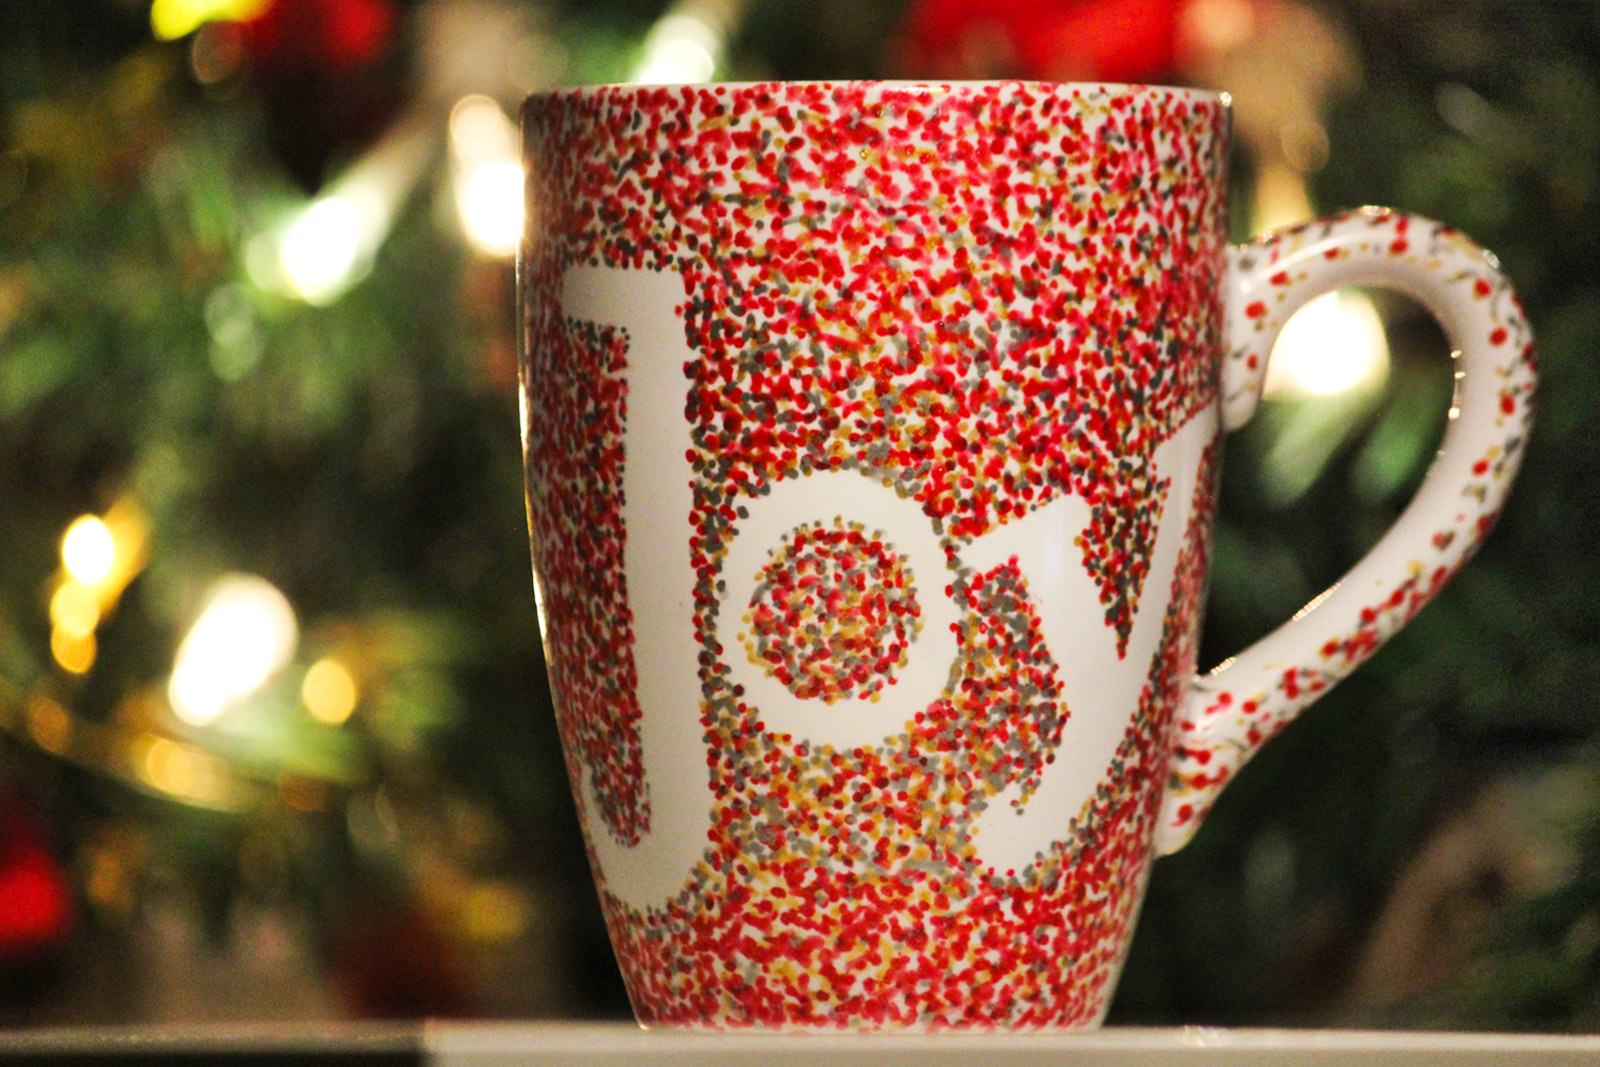
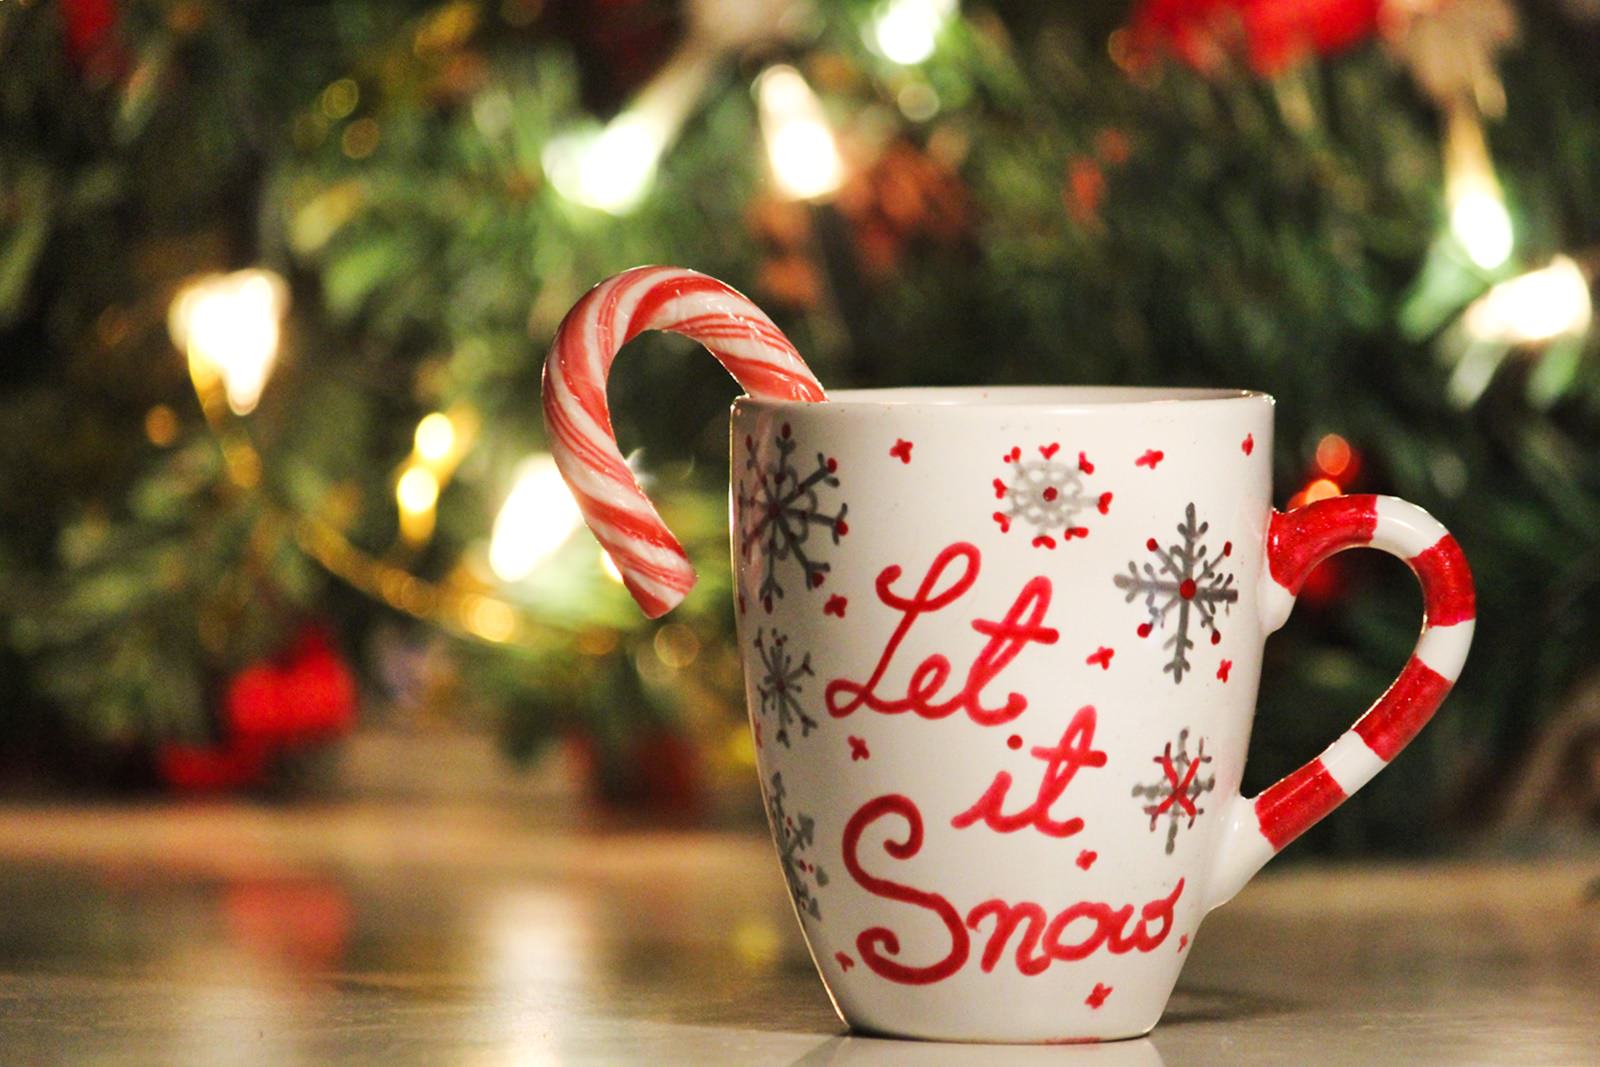
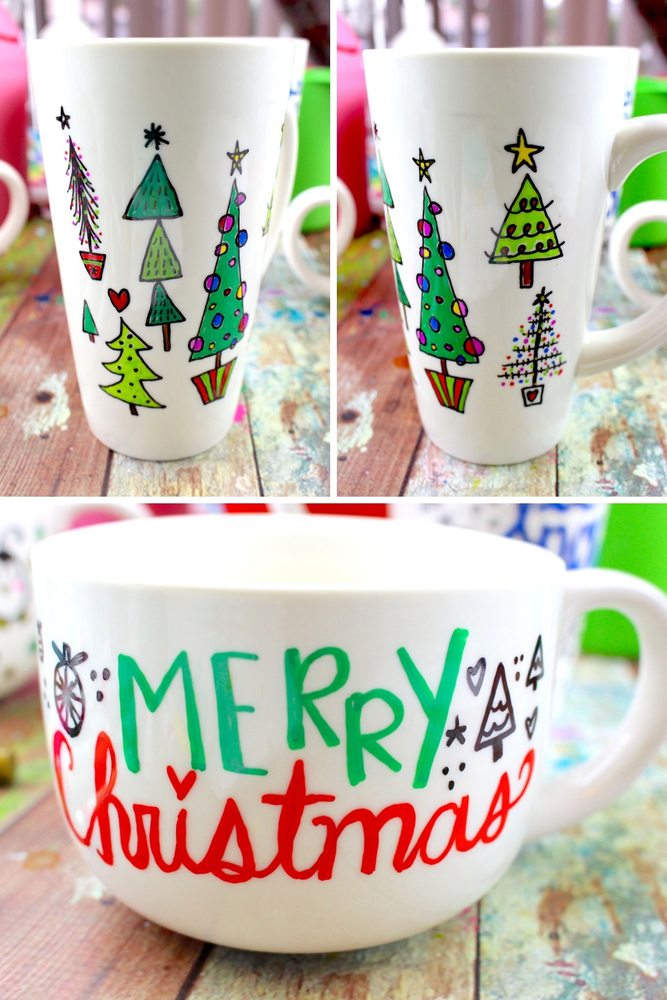
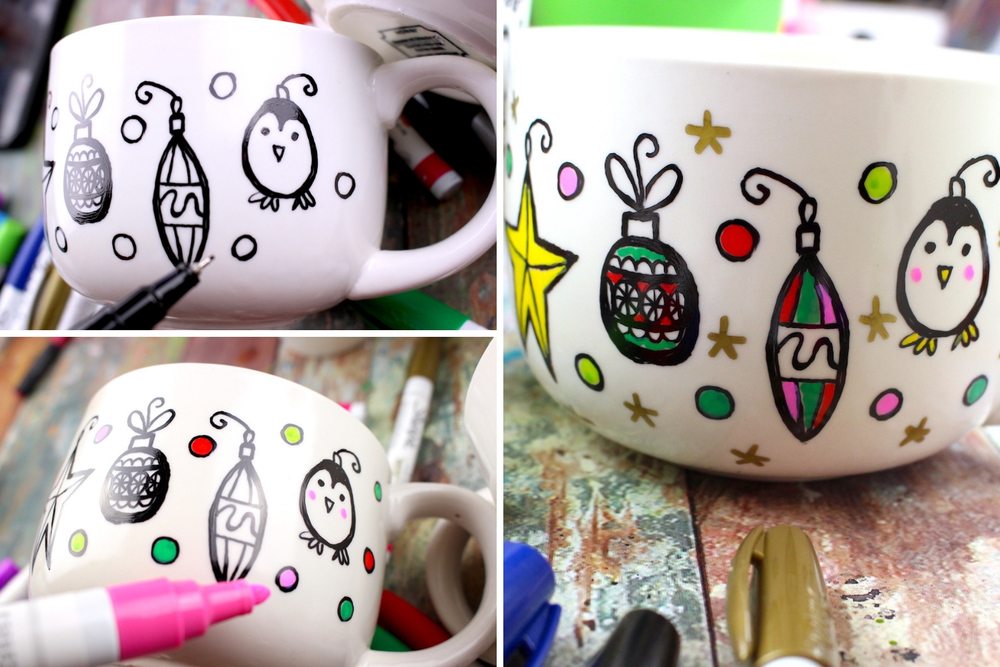
1. Traditional Christmas Motifs:
Embrace the classic Christmas spirit with mugs adorned with traditional motifs such as Santa Claus, snowmen, reindeer, and Christmas trees. Use ceramic markers or paint to create your designs, following these steps:
- Clean the mugs with rubbing alcohol to remove any dirt or oils.
- Sketch your design onto the mug using a pencil or light-colored marker.
- Outline your design with a fine-tipped ceramic marker or paintbrush.
- Fill in the details using broader brush strokes.
- Allow the mug to dry completely.
- For ceramic markers, cure the mug in the oven according to the manufacturer’s instructions. For paint, microwave the mug in short bursts (15-20 seconds) until the paint is dry and set.
2. Personalized Photo Mugs:
Turn your cherished Christmas memories into unique mugs by transferring your favorite photos onto them. This method requires Mod Podge Photo Transfer Medium and a laser printer.
- Print your chosen photo onto laser printer paper.
- Apply a thick layer of Mod Podge Photo Transfer Medium to the back of the photo.
- Place the photo face down on the mug and smooth out any bubbles.
- Allow the photo to dry for 24 hours.
- Wet the photo with a sponge or cloth and gently rub the paper away.
- Seal the image with a clear acrylic spray.
3. Stenciled Christmas Designs:
Stencils offer a quick and easy way to create intricate Christmas designs on your mugs. Simply follow these steps:
- Choose a stencil with your desired Christmas motif.
- Secure the stencil to the mug using painter’s tape.
- Apply ceramic markers or paint to the stencil using a sponge or brush.
- Remove the stencil carefully to reveal the design.
- Allow the mug to dry and cure as per the instructions for the materials used.
4. Christmas Decoupage Mugs:
Decoupage involves gluing paper cutouts onto the mug to create a festive design. Here’s how to do it:
- Cut out Christmas-themed images from magazines, wrapping paper, or other sources.
- Apply a thin layer of Mod Podge to the back of the cutouts.
- Place the cutouts on the mug and smooth out any bubbles.
- Apply another layer of Mod Podge over the cutouts to seal them.
- Allow the mug to dry completely.
- For added durability, you can apply a clear acrylic spray over the design.
5. Candy Cane Rim Mugs:
Add a sweet touch to your Christmas mugs by creating a candy cane rim. Simply follow these steps:
- Melt red and white candy melts in separate bowls.
- Dip the rim of the mug into the red candy melt.
- While the red candy melt is still wet, dip the rim into the white candy melt.
- Allow the candy melt to cool and harden completely.
- For a festive finishing touch, you can add a sprinkle of crushed candy canes to the rim.
6. Christmas Light Mugs:
Illuminate your Christmas mugs with this creative idea. You’ll need:
-
Mini LED Christmas lights
-
Hot glue gun
-
Scissors
-
Batteries
-
Cut the Christmas lights to the desired length, leaving enough wire to wrap around the mug.
-
Use the hot glue gun to attach the lights around the rim of the mug.
-
Insert batteries into the battery pack and switch on the lights.
-
Enjoy the festive glow of your Christmas light mugs!
7. Christmas Tree Mugs:
Transform your mugs into miniature Christmas trees with this fun and festive idea. You’ll need:
-
Green felt
-
Fabric glue
-
Scissors
-
Small Christmas ornaments
-
Star-shaped cookie cutter (optional)
-
Cut a triangle shape from the green felt, large enough to wrap around the mug.
-
Glue the felt around the mug, smoothing out any creases.
-
Decorate the felt with Christmas ornaments, such as mini baubles, bells, or tinsel.
-
For a finishing touch, cut a star shape from felt and glue it to the top of the mug.
8. Reindeer Antler Mugs:
Give your mugs a whimsical touch with reindeer antlers. You’ll need:
-
Pipe cleaners
-
Brown felt
-
Scissors
-
Glue
-
Bend two pipe cleaners into the shape of reindeer antlers.
-
Cut two small triangles from the brown felt for the ears.
-
Glue the ears to the base of the antlers.
-
Attach the antlers to the mug using glue or hot glue.
9. Snowman Mugs:
Create adorable snowman mugs with a few simple materials. You’ll need:
-
White felt
-
Black felt
-
Orange felt
-
Fabric glue
-
Scissors
-
Cut a large circle from the white felt for the snowman’s body.
-
Cut a smaller circle from the white felt for the snowman’s head.
-
Cut two small ovals from the black felt for the eyes.
-
Cut a small triangle from the orange felt for the carrot nose.
-
Glue the pieces together to create the snowman’s face.
-
Attach the snowman’s face to the mug using glue.
10. Christmas Stocking Mugs:
Bring the festive spirit of Christmas stockings to your mugs. You’ll need:
-
Red felt
-
White felt
-
Fabric glue
-
Scissors
-
Ribbon
-
Cut a rectangle from the red felt for the stocking.
-
Cut a smaller rectangle from the white felt for the stocking cuff.
-
Glue the white felt to the top of the red felt, leaving a small opening at the bottom.
-
Turn the stocking inside out and glue the edges together.
-
Attach a ribbon to the top of the stocking for hanging.
-
Glue the stocking to the mug using fabric glue.
Conclusion:
With these creative and festive DIY Christmas mug ideas, you can add a touch of holiday cheer to your home décor, create thoughtful gifts for loved ones, or simply enjoy the festive spirit of crafting. So gather your materials, let your creativity flow, and make your own unique Christmas mugs this holiday season. Merry Christmas and happy crafting!


Closure
Thus, we hope this article has provided valuable insights into Christmas Mugs DIY 2024: Creative and Festive Mug Designs for the Holidays. We appreciate your attention to our article. See you in our next article!